> For the complete documentation index, see [llms.txt](https://help.botpenguin.com/llms.txt). Markdown versions of documentation pages are available by appending `.md` to page URLs; this page is available as [Markdown](https://help.botpenguin.com/bots/whatsapp-bot/bot-setup/whatsapp-bot-creation-with-automated-onboarding.md).
# WhatsApp Bot Creation with Automated onboarding
This section contains essential information and usage guidelines for managing WhatsApp bot setup inside BotPenguin.
### What is Bot Setup?
Bot Setup is the process of creating and connecting your WhatsApp bot using BotPenguin’s automated onboarding flow.
It allows you to create a ready-to-use chatbot from templates and seamlessly connect your WhatsApp number via Meta onboarding.
***
### Benefits of Bot Setup
* 🚀 Enables fast WhatsApp bot deployment using pre-built templates
* ⏱️ Reduces setup time with guided onboarding
* 🎯 Ensures compliance with Meta onboarding requirements
* 🔄 Provides seamless integration with WhatsApp Cloud API
* 📈 Accelerates go-live for automation and campaigns
***
### Expected Outcome
After setting this up:
* Your WhatsApp bot will be successfully created and connected
* You will have a ready-to-use chatflow based on your selected use case
* Users will be able to interact with your business on WhatsApp
> 💡 Tip: Customize the generated chatflow before going live to align with your business use case.
***
#### Pre-requisites
Before you start creating the WhatsApp bot, Make sure that you have
* [ ] A phone number that is
* [ ] Active & capable of receiving SMS.
* [ ] Not registered on WhatsApp or WA Business App.
* [ ] Registered legal business
* [ ] An active website with a valid privacy policy
* [ ] Business use case compliant with [WhatsApp](https://www.whatsapp.com/legal/commerce-policy) and [Meta commerce policy](https://www.facebook.com/policies_center/commerce/).
* [ ] A valid payment method (Debit or Credit card) capable of making international payments to Meta for conversation charges.
* [ ] GSTIN Number, Only if the business is registered in India.
If you have all of the above checked, You are good to start with WhatsApp Cloud API Bot.
{% hint style="warning" %}
Please note that a single mobile number can only be utilized on one of the WhatsApp services at a given time, namely WhatsApp, WA Business, or WhatsApp Business API. If you wish to use your existing number, you must remove your account from one service before using it on another.
{% endhint %}
***
### How to Create Your WhatsApp Chatbot
1. Go to the BotPenguin homepage and click **“Create Your First Chatbot”**.
2. Select **“WhatsApp”** as your platform.
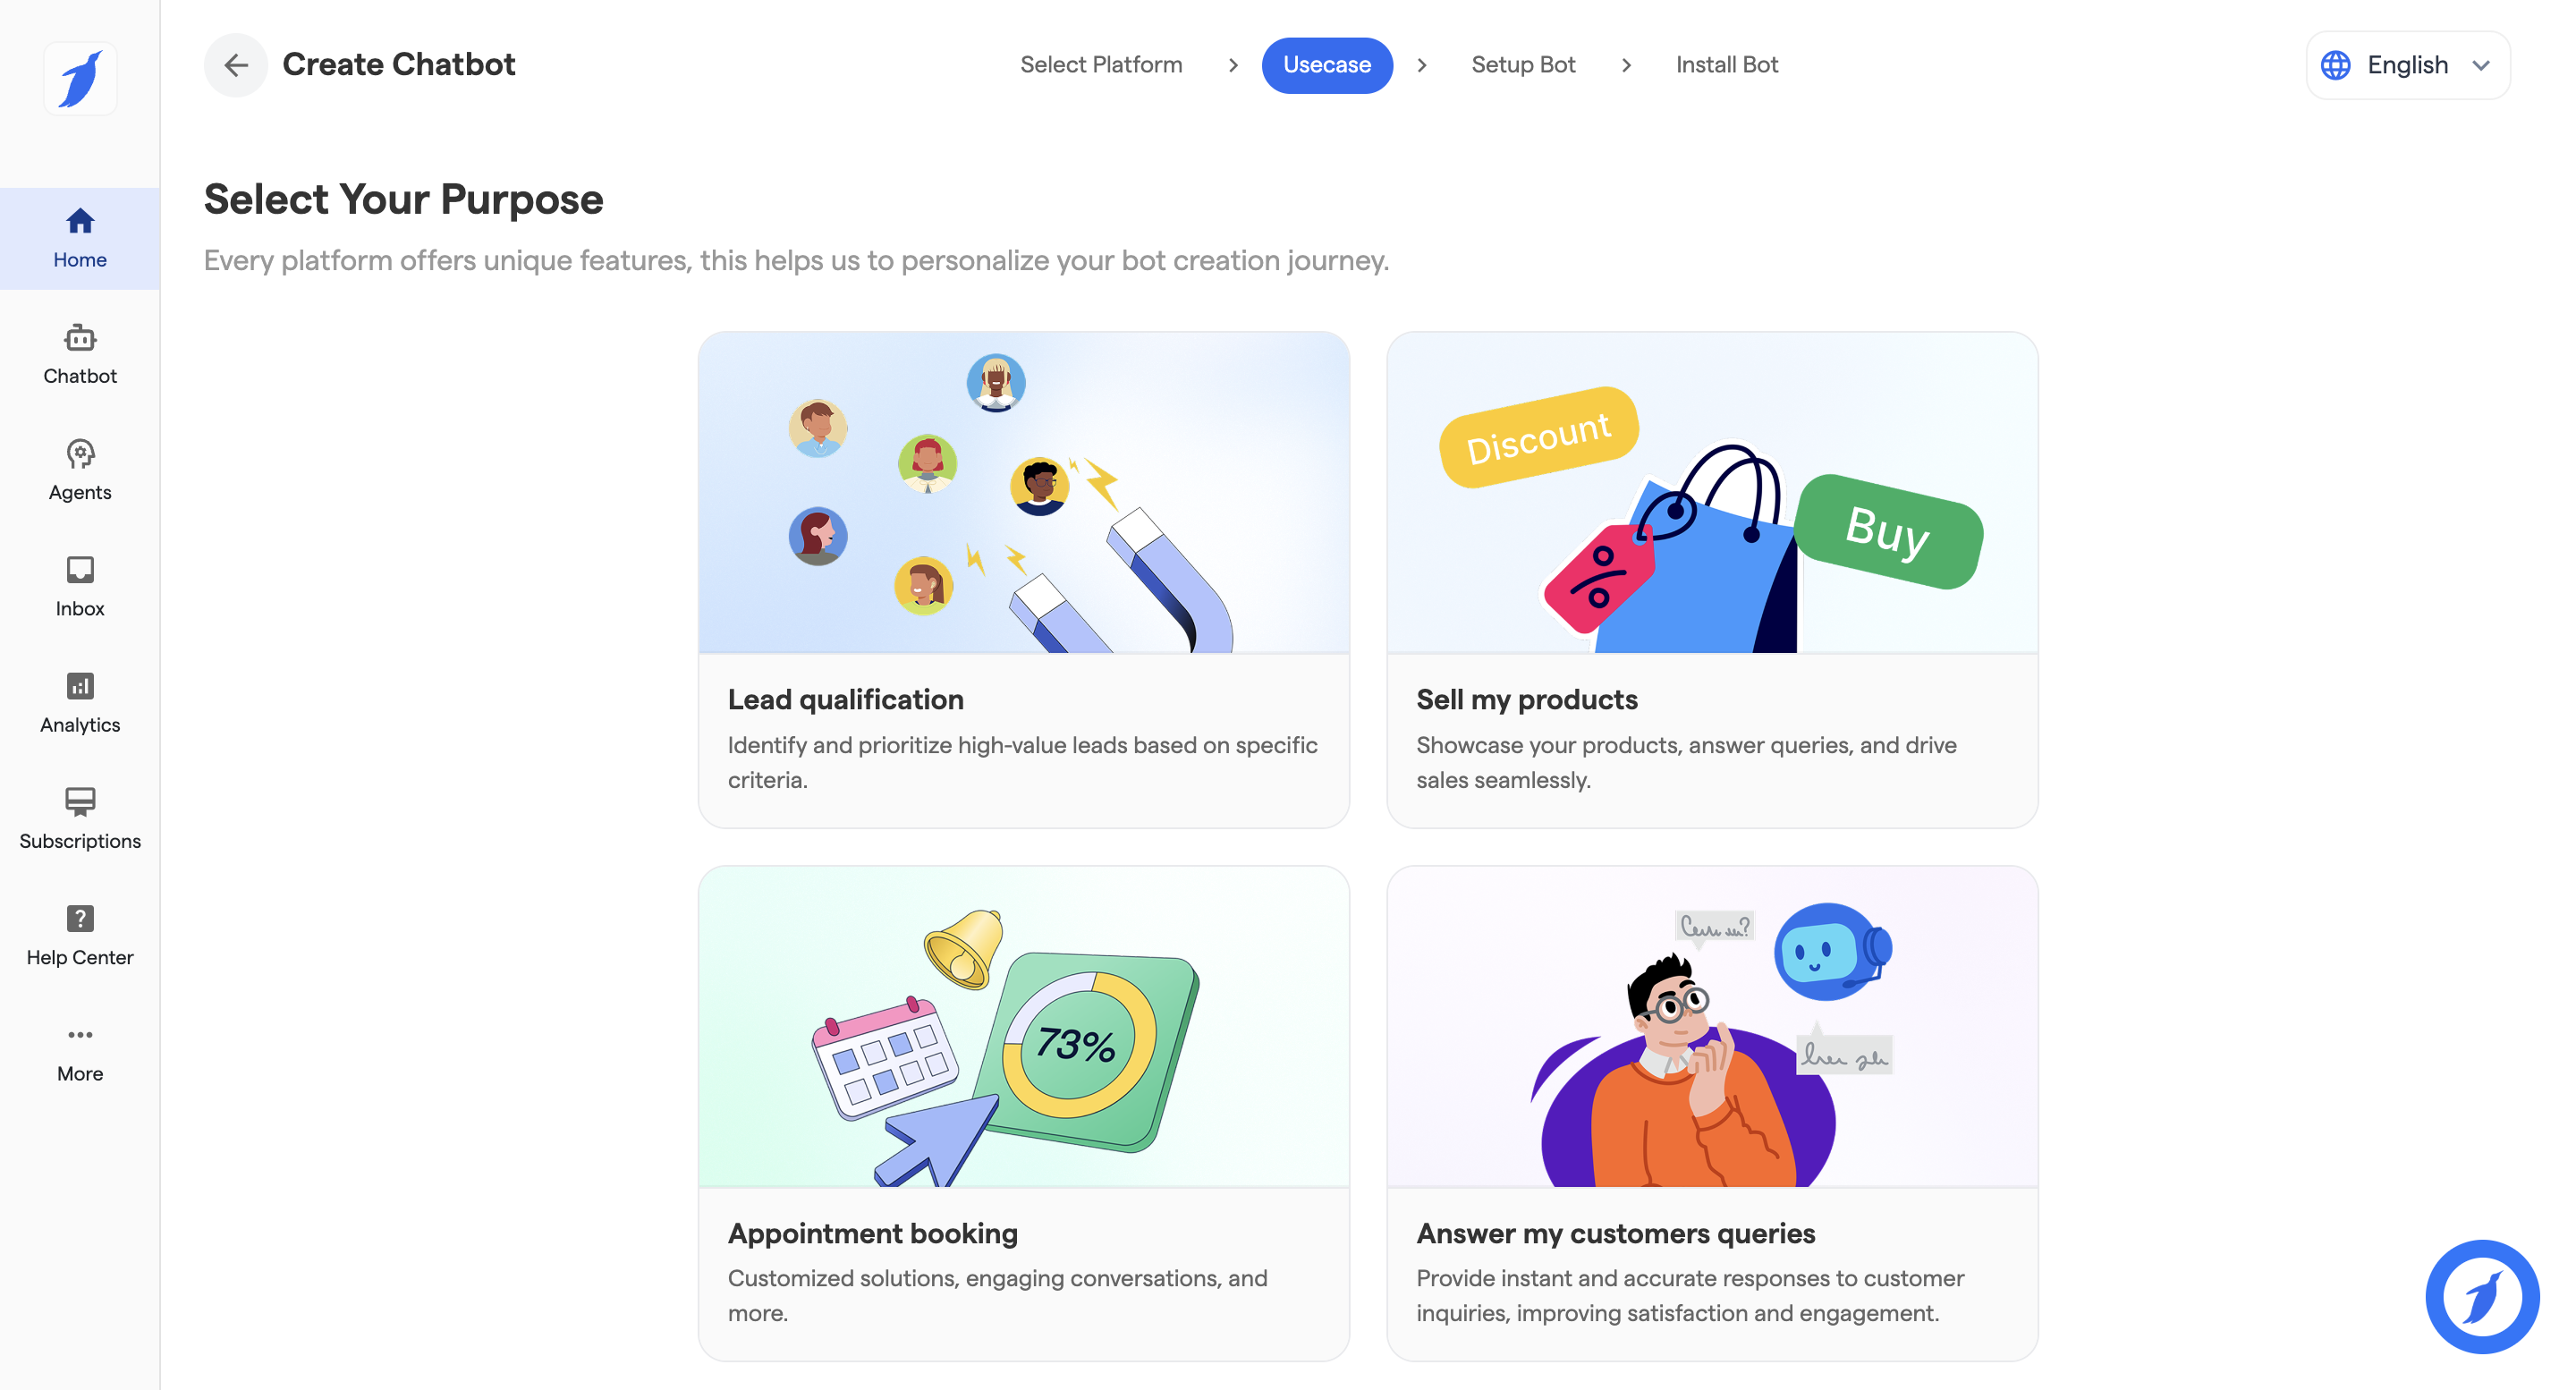
3. Choose your use case template:
1. Lead Qualification
2. Sell My Products
3. Appointment Booking
4. Answer My Customer Queries
5. Other Use Cases
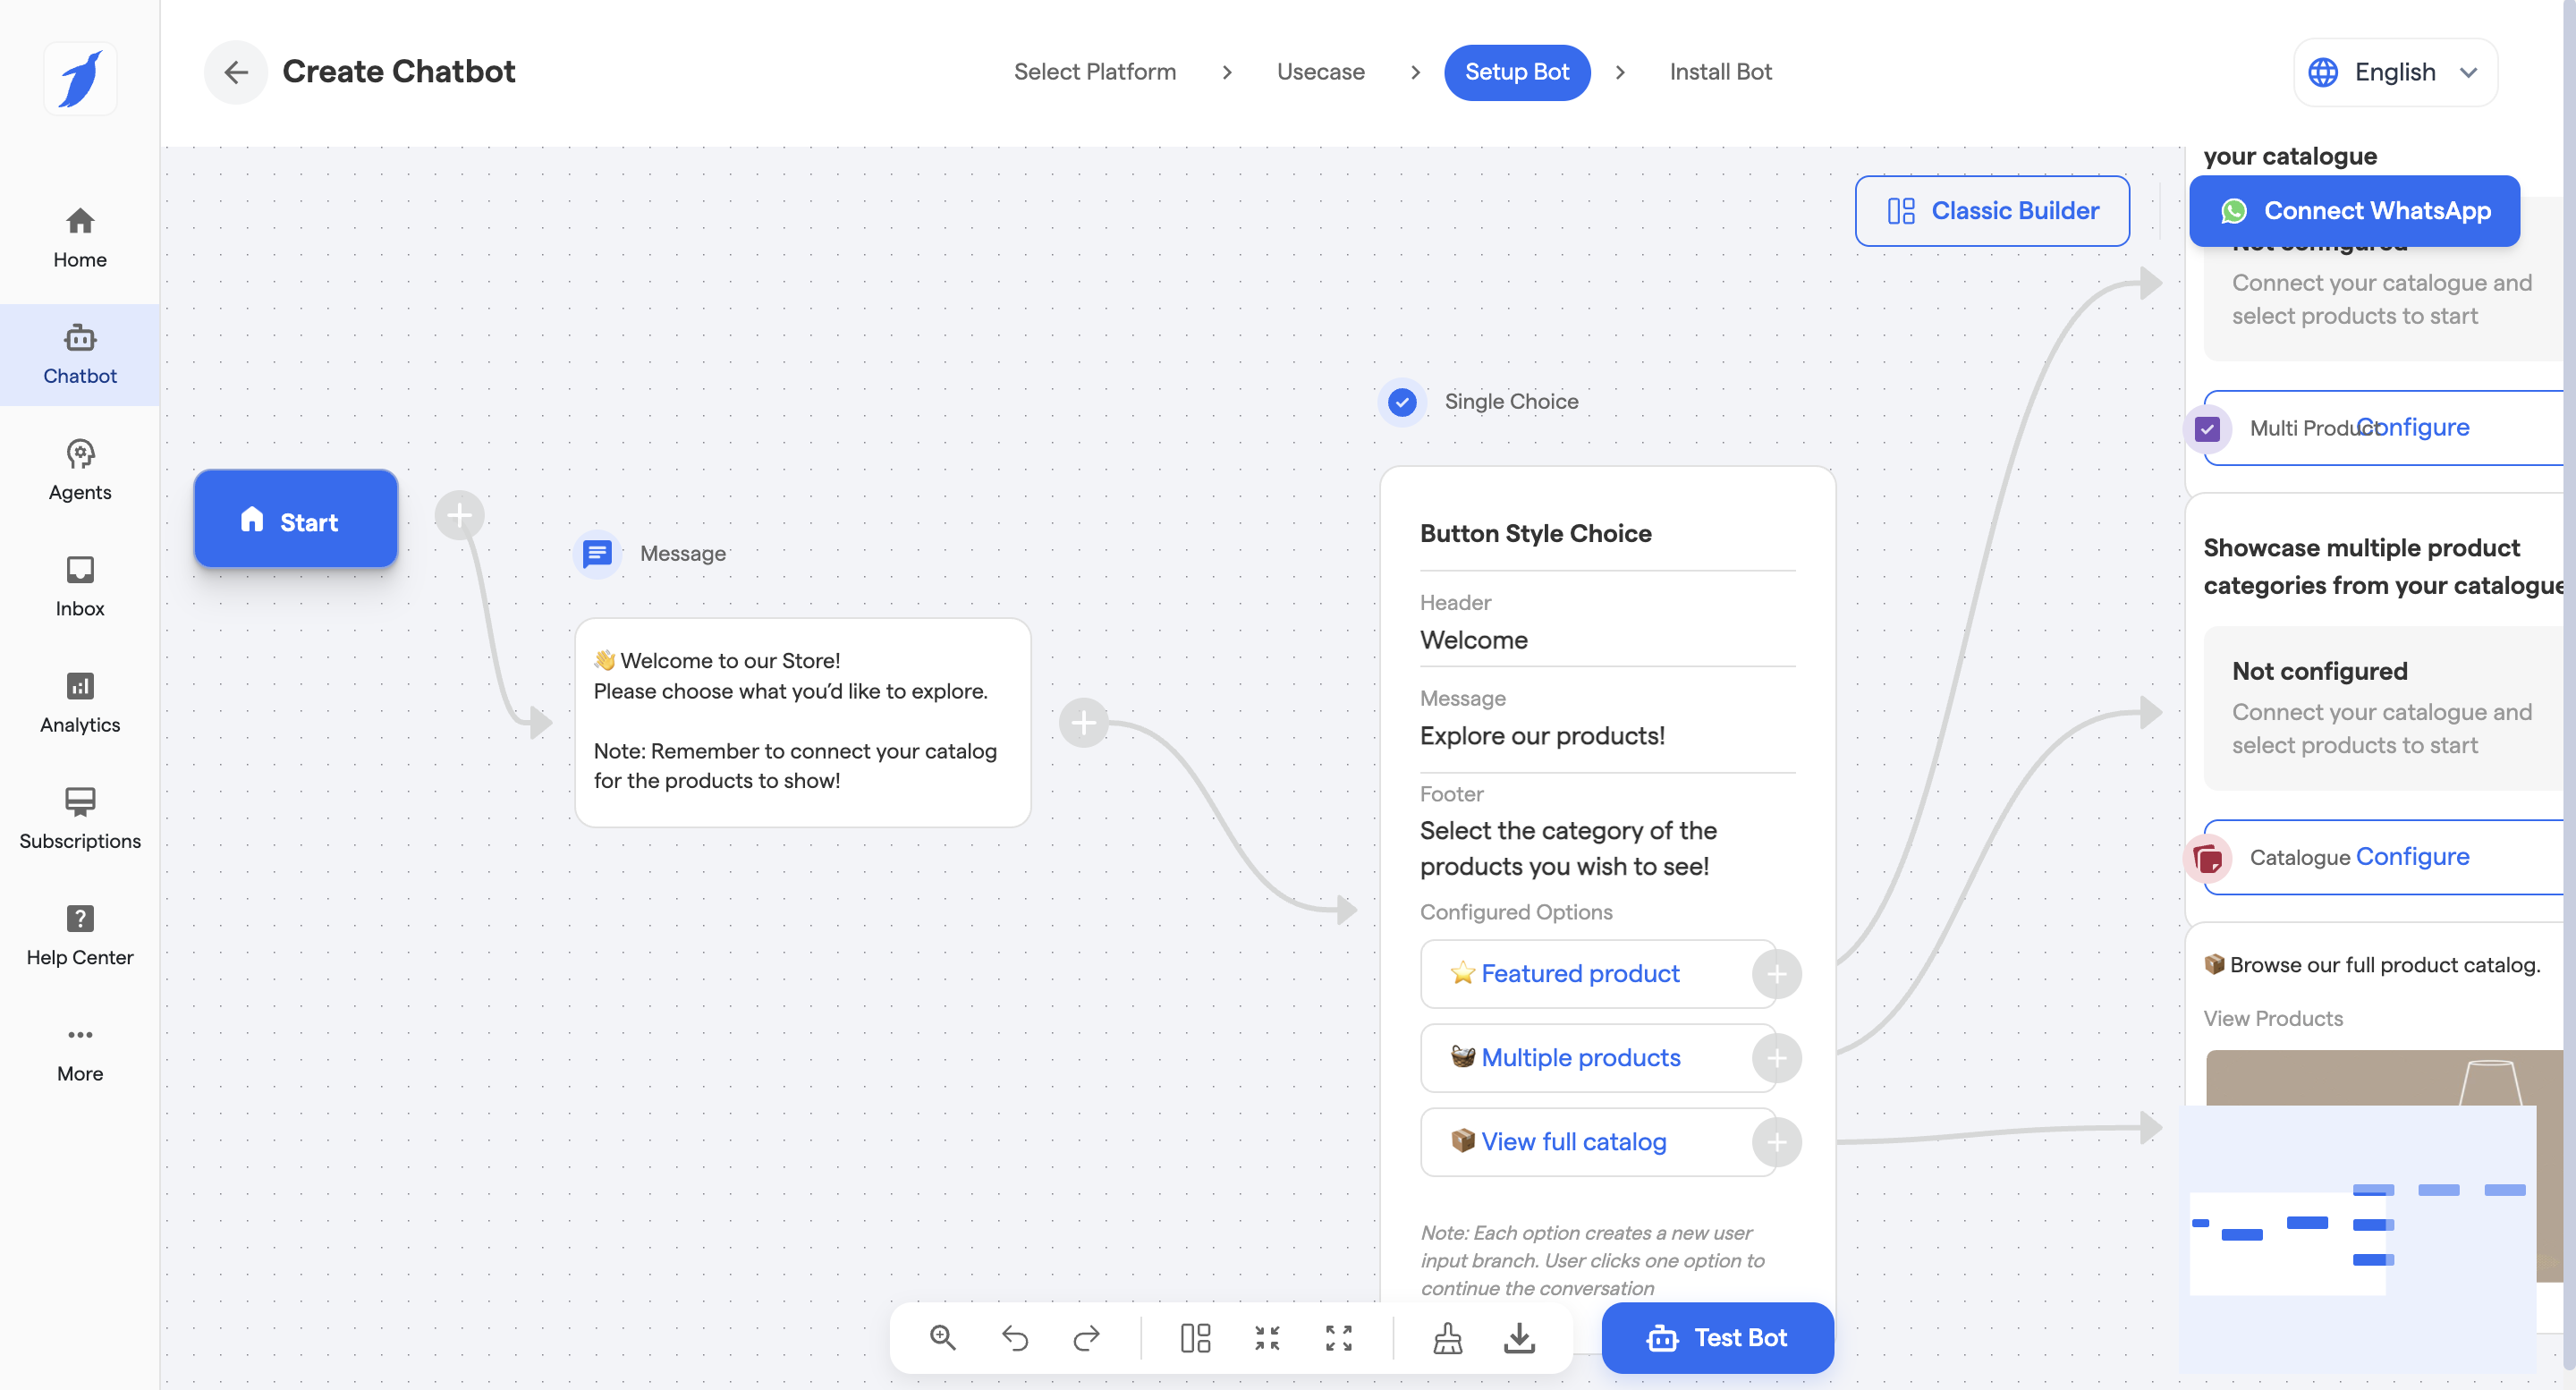
4. Once the chatbot is created, edit the chatflow as per your requirements.
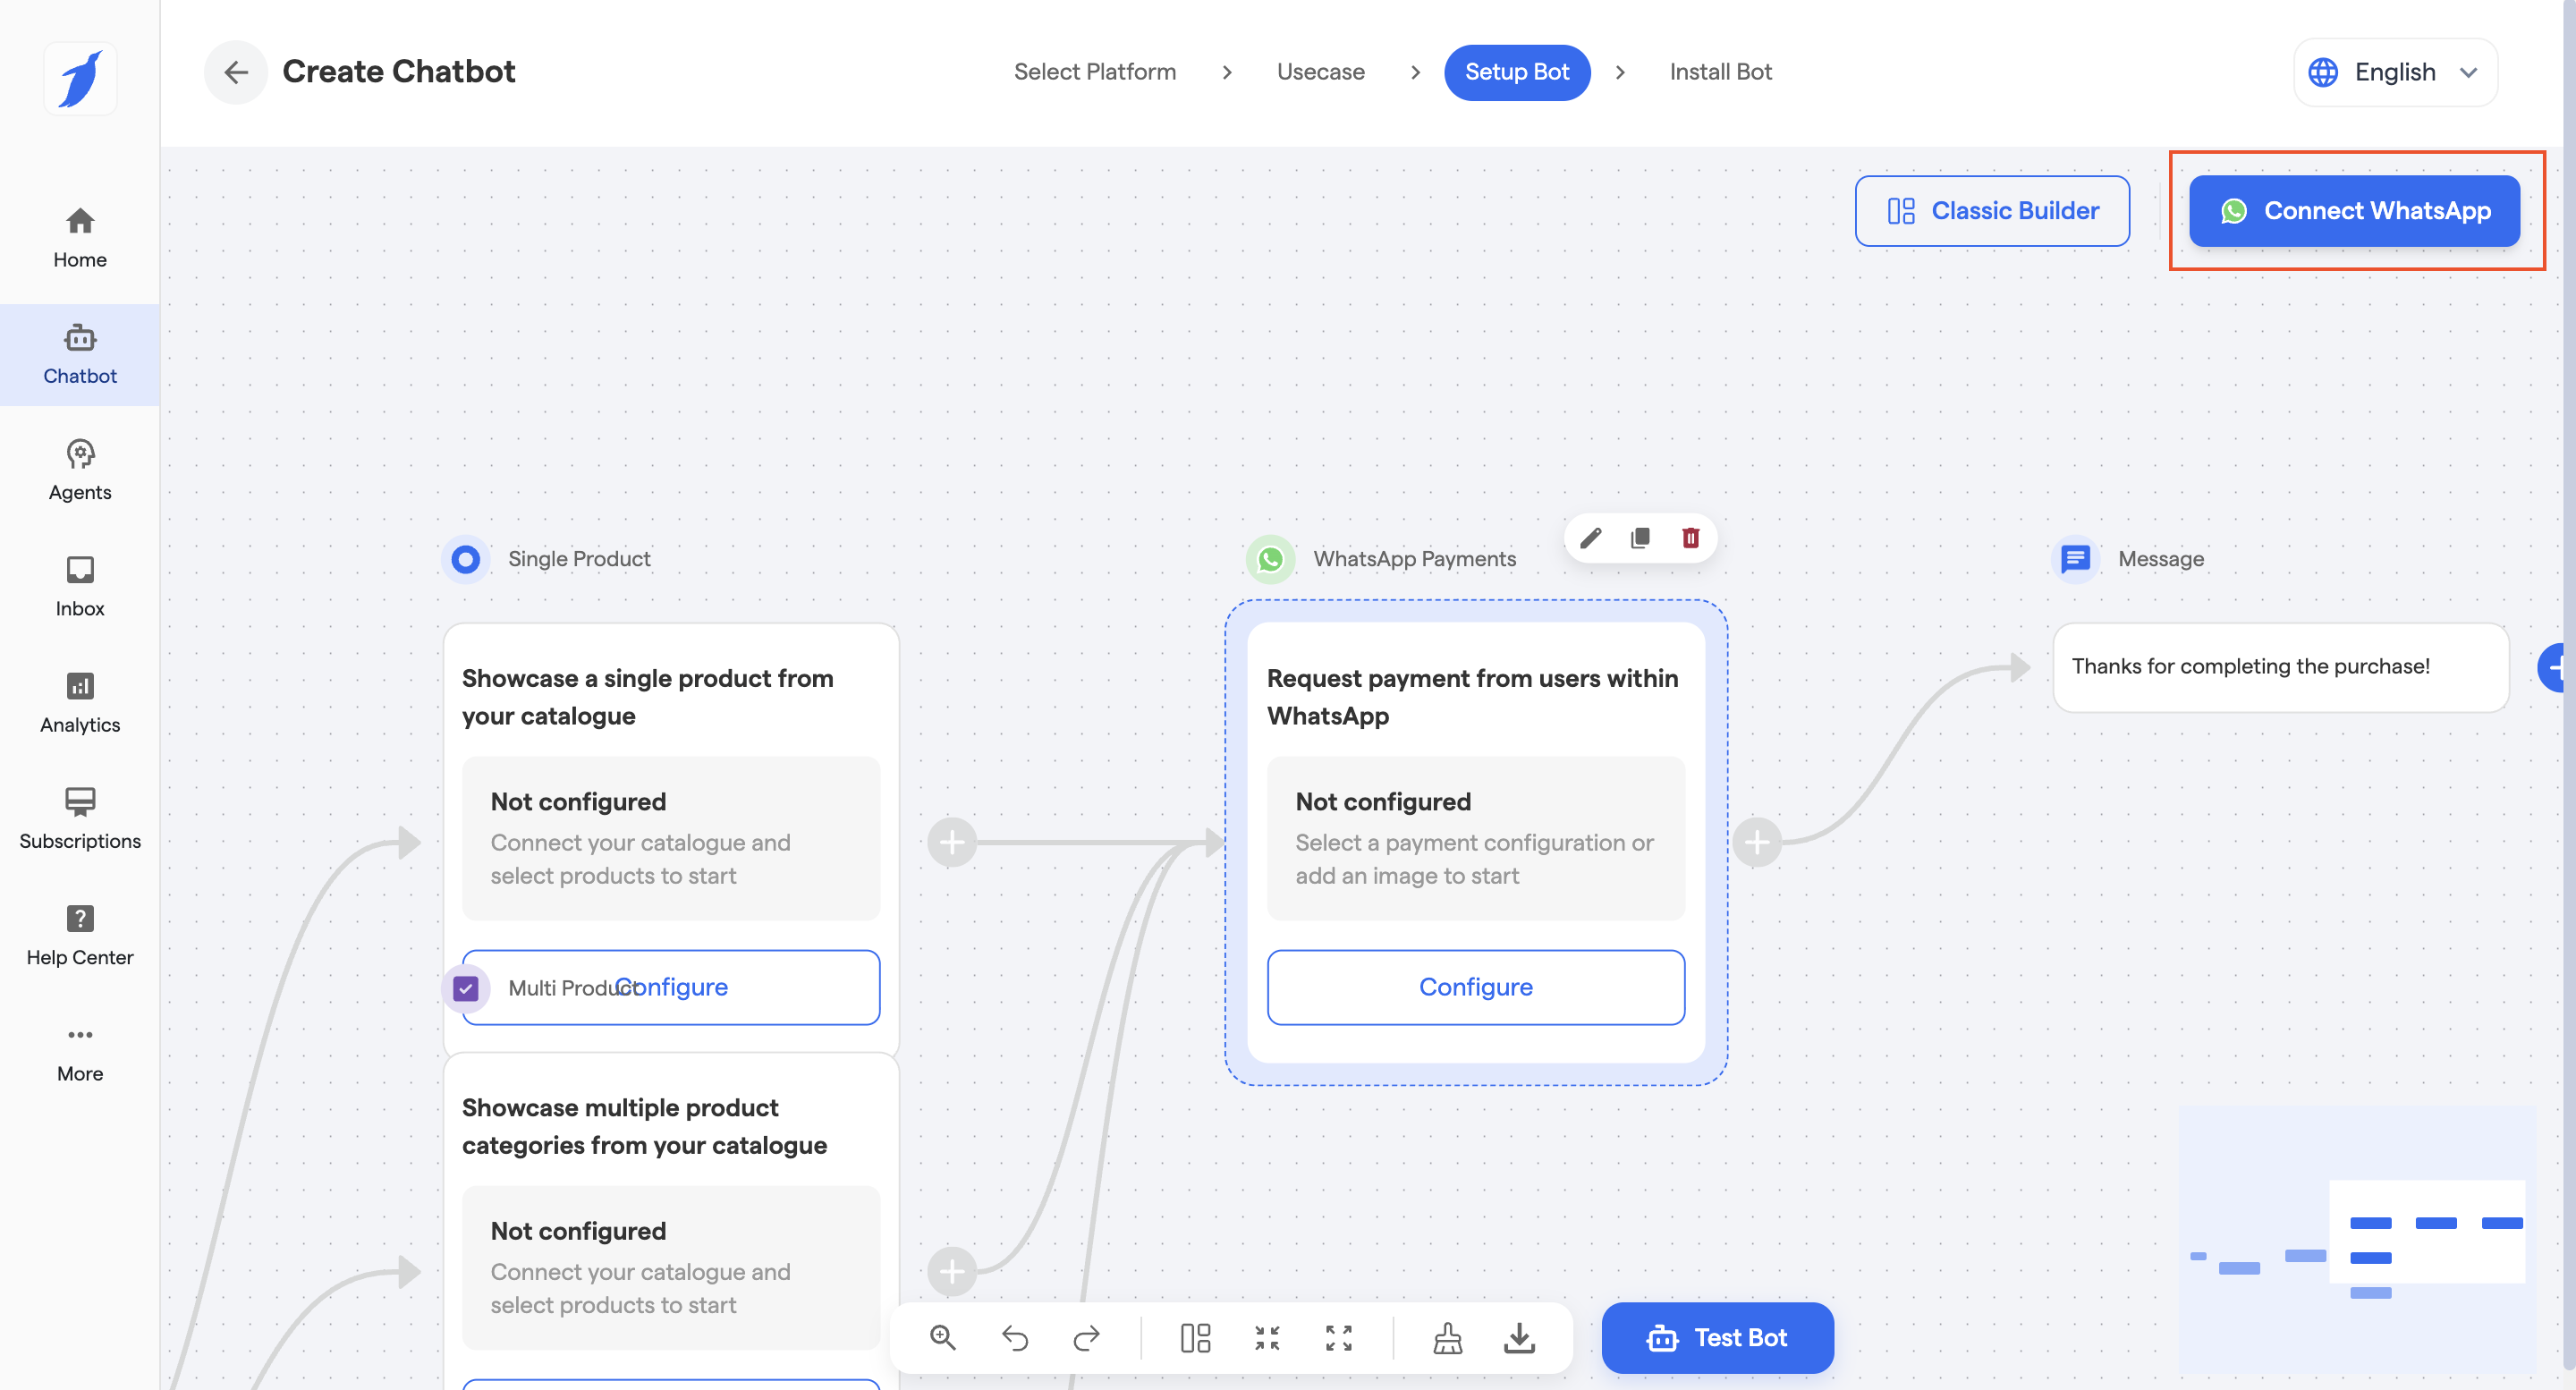
5. Click on **“Connect WhatsApp”** from the top right.
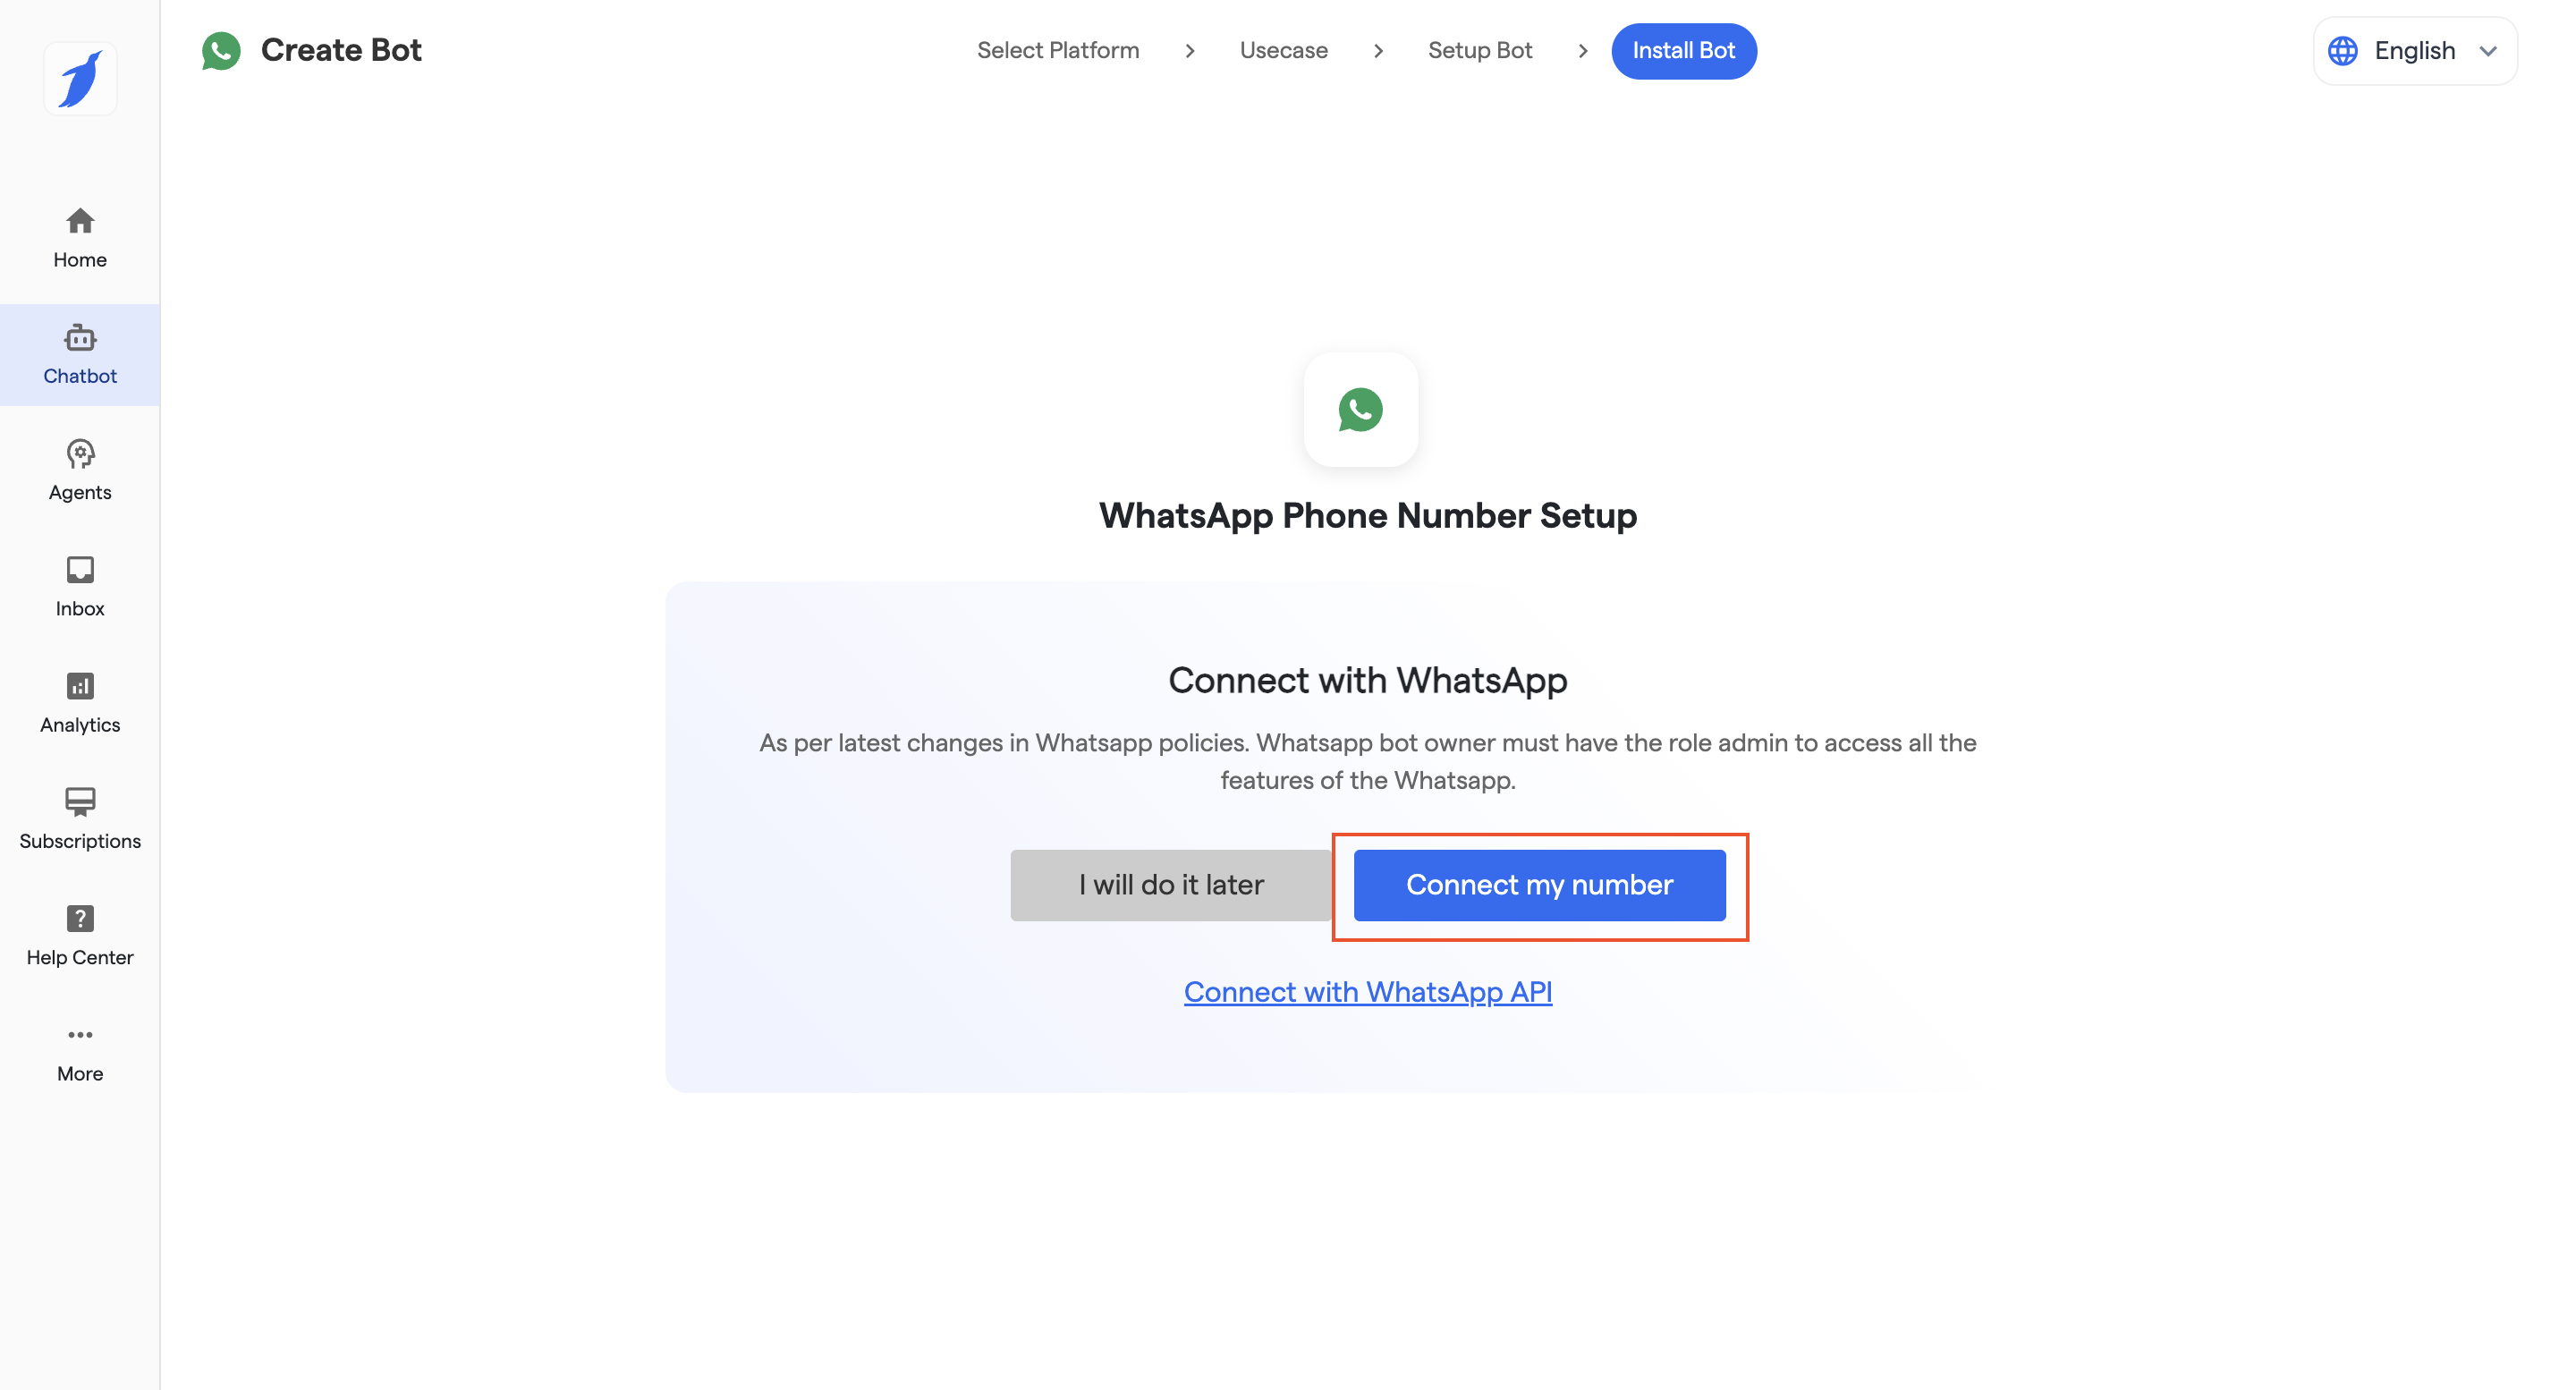
6. Click on **“Connect My Number”** to begin onboarding.
7. Select **“Connect Phone Number”** and click **“Continue”**.
8. Confirm Meta Business Manager access by selecting **“Yes”** and click **“Continue”**.
9. Click on **“Continue with Facebook”** to initiate Meta onboarding.
10. Complete the Meta onboarding flow:
1. Click **“Continue”** on the introduction screen
2. Select or create your Business Portfolio and WhatsApp Business Account
3. Choose how you want to connect:
1. Existing WhatsApp Business Account
2. Create new account
3. Connect WhatsApp Business App (coexistence)
4. Enter required business details if applicable
5. Select **“Add Number Now”**
6. Enter your phone number and verify via OTP
11. Your WhatsApp bot will now be successfully connected to BotPenguin.
***
### Best Practices
> 💡 Choose the correct use case template to reduce customization effort
> ⚠️ Ensure pop-ups are enabled before starting Meta onboarding
> 🚀 Complete onboarding in one session to avoid interruptions
> 🎯 Always verify your number correctly to prevent connection issues
***
### Troubleshooting
Meta onboarding pop-up not opening
**Issue:** Meta onboarding pop-up not opening\
**Solution:** Enable pop-ups in your browser and retry
Phone number verification failed
**Solution:** Ensure the number is active and able to receive OTP
Unable to proceed after template selection
**Solution:** Refresh and recreate the chatbot if the flow fails to initialize
***
### FAQs
Can I use my existing WhatsApp number?
Yes, but it must not be actively registered on WhatsApp or WhatsApp Business App unless using coexistence.
What is coexistence mode?
It allows you to use the same number for both WhatsApp Business App and API with limited functionality.
Why am I not seeing the Meta onboarding window?
This usually happens due to blocked pop-ups. Enable pop-ups and retry.
Do I need a Meta Business Manager account?
Yes, access to Meta Business Manager is required for onboarding.
Can I edit the chatbot after creation?
Yes, you can fully customize the generated chatflow anytime.
How long does setup take?
If all prerequisites are ready, setup can be completed within a few minutes.
What happens after connecting WhatsApp?
You can immediately start automating conversations, campaigns, and workflows.
***
### Related Articles
{% content-ref url="/pages/nuiO2nimOcOqzV7cNUcH" %}
[Website Manage Chatflow](/bots/website-mobile-app-bot/website-manage-chatflow.md)
{% endcontent-ref %}
{% content-ref url="/pages/chgz2xVk0B5o0i1ZYgAN" %}
[Whatsapp Automation](/bots/whatsapp-bot/whatsapp-automation.md)
{% endcontent-ref %}
***
### Support
If you still have questions for our team, write to us at [**support@botpenguin.com**](mailto:support@botpenguin.com). We’ll get back to you within 48 hours.
***
### 🎉 Completion
🎉 Congratulations, you have successfully completed this section! You're one step closer to mastering BotPenguin.