
N8N mcp
N8N MCP lets your AI agent use the tools that your n8n instance publishes. You add the MCP server URL and an Authorization header once in Third party apps.
Prerequisites
A BotPenguin account with access to the More menu.
An n8n instance with MCP turned on.
Your n8n MCP URL and authentication header from your n8n instance.
Key Definitions
MCP
Model Context Protocol. A standard way for an AI agent to use the tools of another app.
MCP server URL
The address of the MCP server.
Tool
An action that the app publishes. The app decides which tools exist.
Connection
One saved account that your agents can use.
Steps
Click More in the left menu, then click Third party apps.
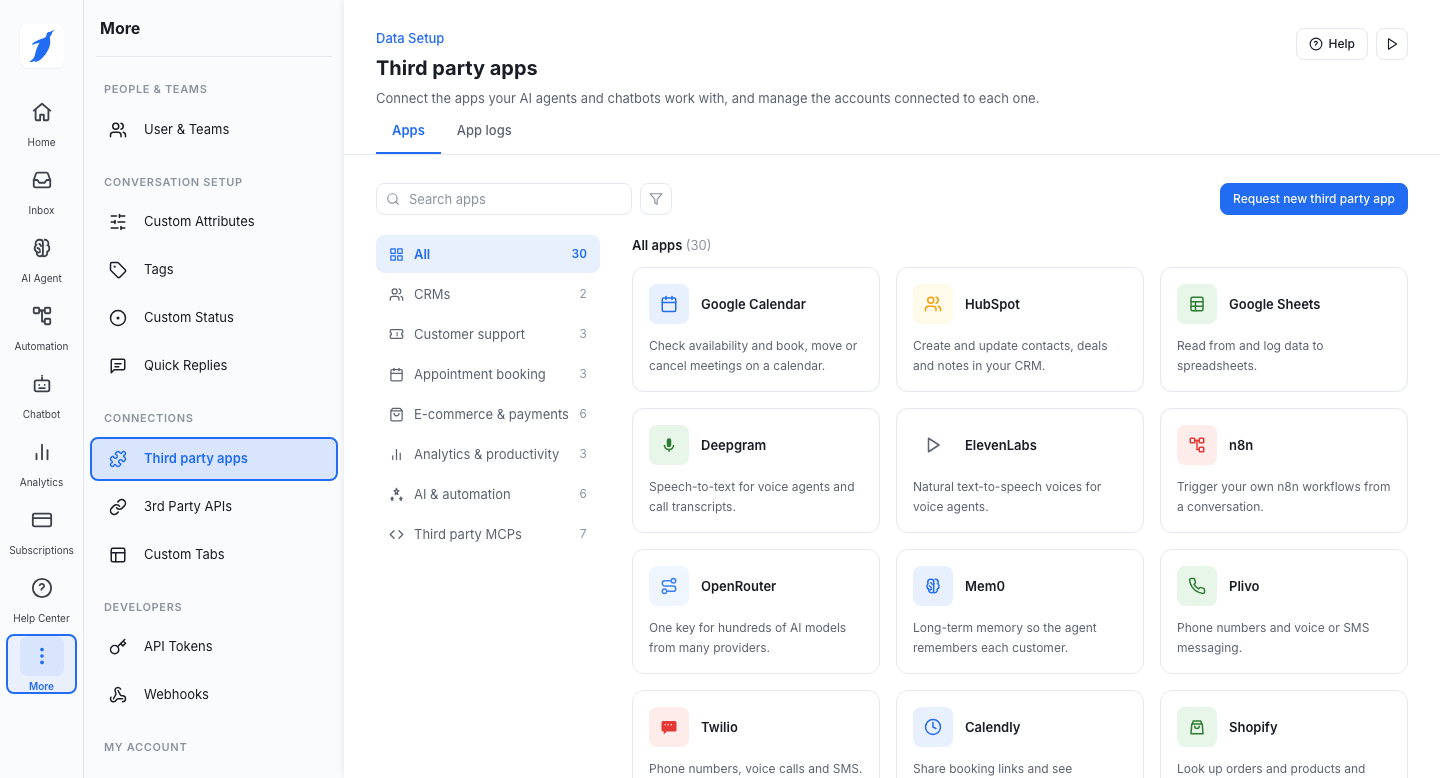
Type n8n MCP in the search box, then open the n8n MCP card.

On the Connected accounts tab, click Add connection.
In the configuration panel, type a Connection name.
Enter the MCP server URL. This field is required. Copy it from your n8n instance.
Under headers, enter the Header name Authorization and the Value from n8n. Both are required. Click Add header to add another pair.

Click Save Configuration. BotPenguin tests the connection and saves it only if the server answers.
Check the Connected accounts tab. Your n8n MCP configuration appears in the list with an Active status.
Common Errors
Support
Still not working? Write to us at support@botpenguin.com. We will reach out to you within 24 hours.
Last updated